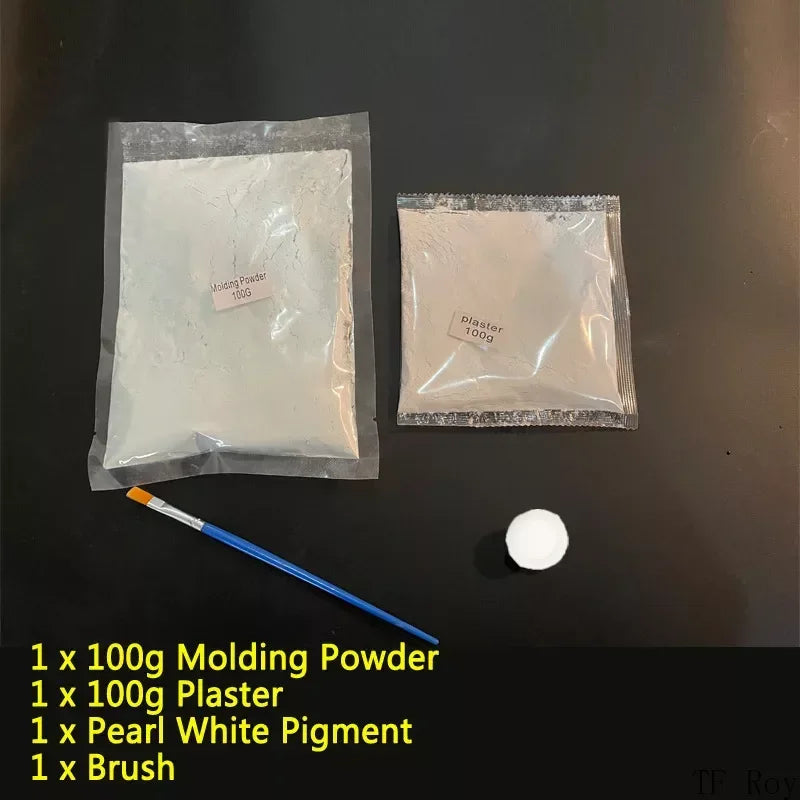
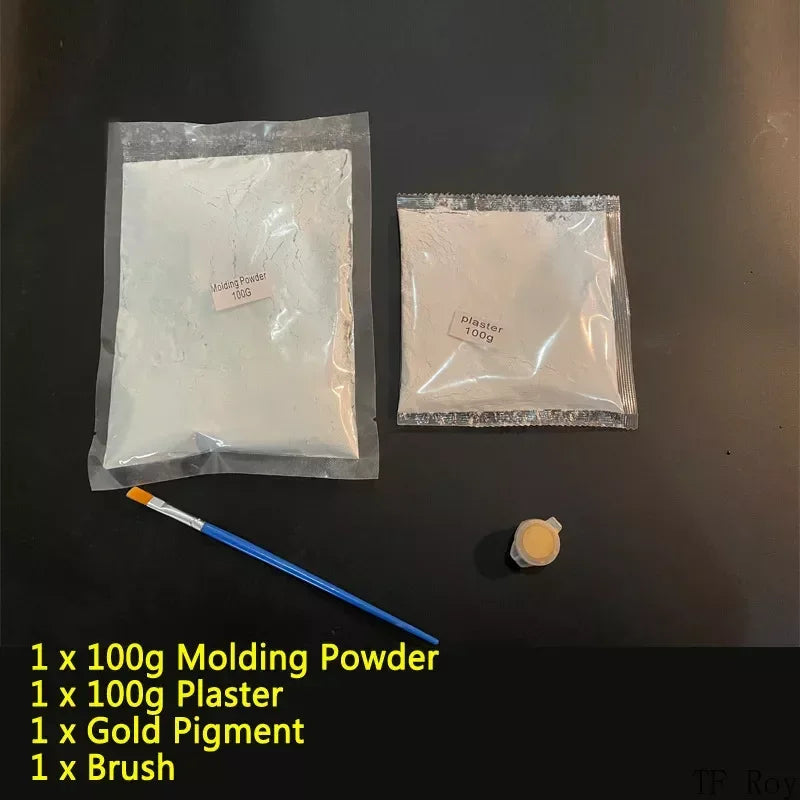
DIY Baby Plaster Mold
DIY Baby Plaster Mold
Couldn't load pickup availability
DIY Baby Hand & Foot Plaster Mold Kit – Create Lasting Memories
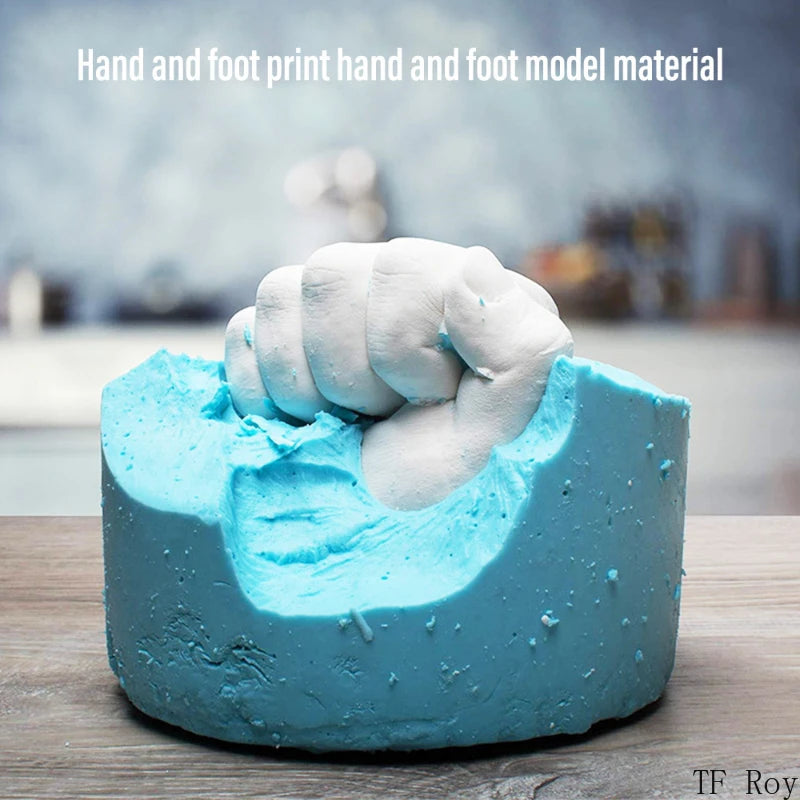
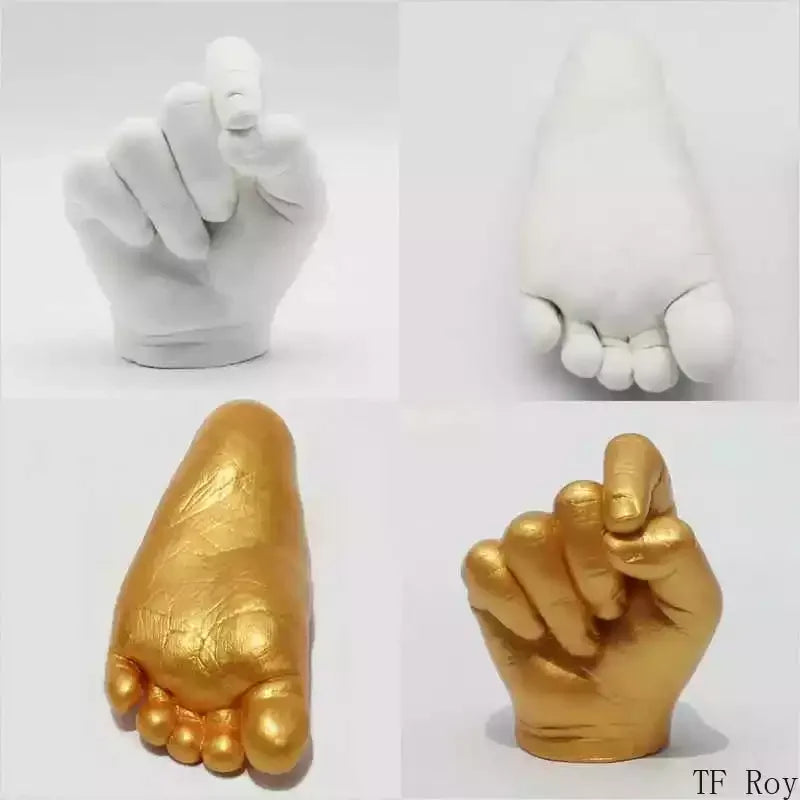
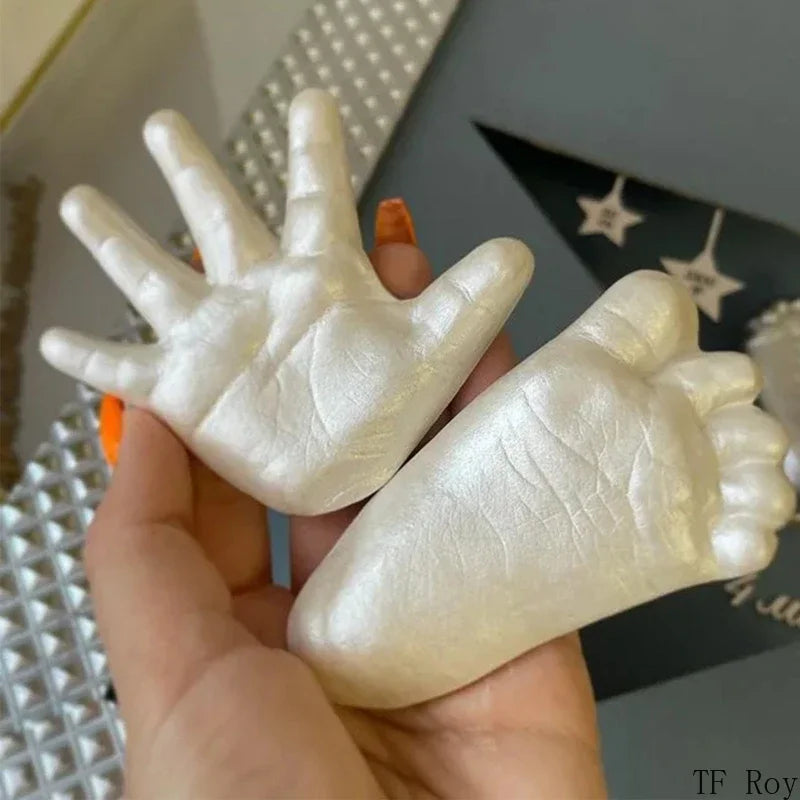
Preserve your baby’s tiny hands and feet with our DIY Baby Plaster Mold Kit! This easy-to-use kit helps you create a detailed, 3D casting of your little one’s hands or feet, capturing every wrinkle and line as a timeless keepsake.
✅ Easy & Safe to Use – Non-toxic, skin-safe materials designed for babies.
✅ Highly Detailed & Realistic – Captures even the smallest details for a lifelike mold.
✅ Perfect for Parents & Gifts – A heartfelt keepsake for baby books, decor, and gifts.
✅ Customizable Finish – Paint your finished casting in any color after drying.
Important Tips for Best Results:
⚠ Do Not Add Too Much Water – Follow the instructions carefully to ensure a successful cast.
⚠ Keep Baby's Hand/Foot Still – Helps create a perfect mold without distortion.
⚠ Patience is Key – Allow proper drying time for the best outcome.
Create a beautiful, lasting memory of your baby’s earliest days with this special plaster mold kit!
🛒 Order Now & Start Creating!
INSTRUCTIONS:
1. Mix the molding powder with 3 to 3.2 times the amount of powder (300 to 320 mL). Stir quickly until mixture is as smooth as possible. The mixture will turn a purple/pink color.Remember not to add too much water to the mixture.
2. After 1 minute, place baby's hand or foot into this purple molding mixture at once. Please make sure the hand or foot is completely submerged, and doesn't break the surface of the mixture or touch the edge of cup.
3. Try to keep your baby's hand or foot as still as possible while the molding mixture is setting.
4. Hold your baby's foot in the mold for 240 more seconds to ensure the mold is fully set, then you can very carefully and smoothly remove their hand or foot from the mold.
5. To ensure a smooth release from the mold, wiggle slightly back and forth so that air can enter the opening of the mold.
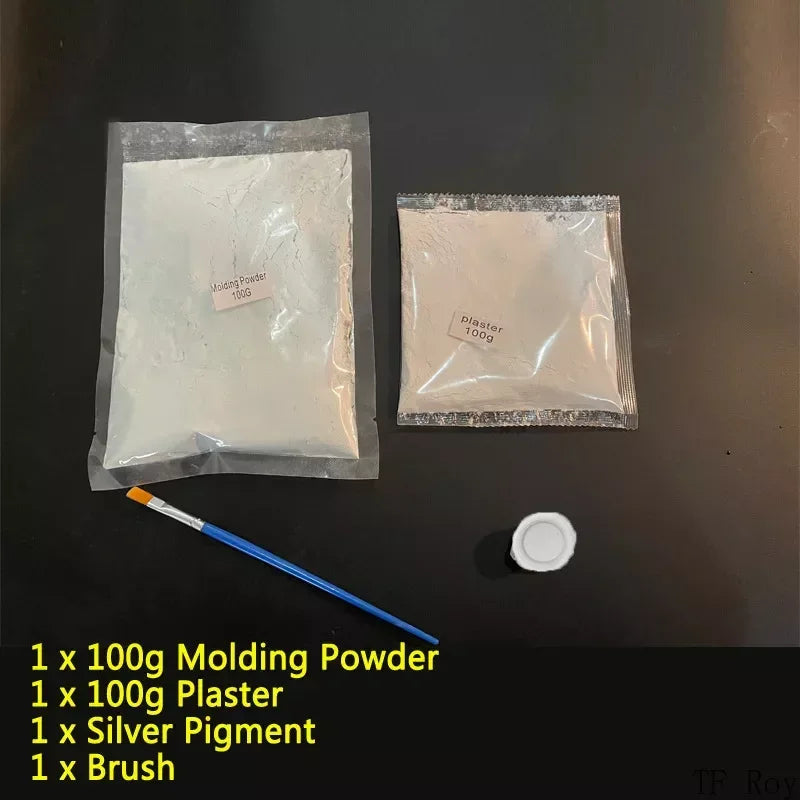
6. Once the hand or foot has been removed, Open bag of plaster powder 50g, and mix with 1/3 to 1/2 of the amount of water (80 to 90 mL). Stir as quickly until the mixture is as smooth as possible.Do not add too much water to the stone powder. The higher the concentration the stronger the casting will be.
7. Slowly pour the stone powder mixture into the opening of the mold.Gently jiggle the mold while pouring to ensure the liquid enters all the tiny areas and to avoid air becoming trapped inside creating air bubbles.
8. After 1 hours the stone mixture should be set. VERY gently remove the mold away from the casting. You can very carefully use a knife to help open the mold or by hand. Ensure open it very slow to ensure that you do not break the casting.
9. Once the casting is removed you may see a little powder on the surface. It can be washed by water, and air dry over 24 hours.
10. Paint Coat: After 24 hours you can paint your beautiful completed casting any color you wish.
Share
